Feeds:
Posts
Comments

Archive for October, 2009

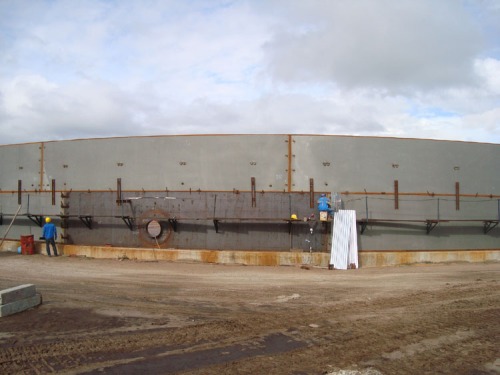
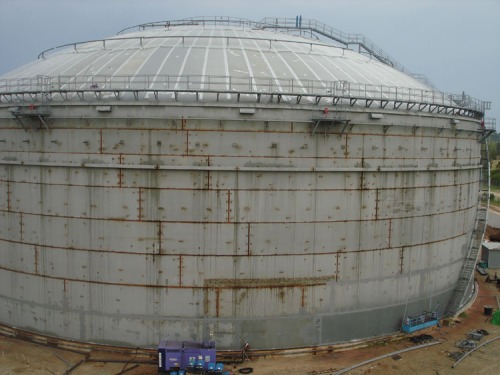
Sequential pictures below are the air raising process of a dome roof tank in Brunei Methanol Project, Brunei Darussalam. The tank is Product Methanol Tank with 63 metres inside diameter, 18 metres shell height and 50.4 metres radius dome roof. The air raising process was done on April 27th, 2009.

In this project, Brunei Methanol Company, Sdn. Bhd. is the owner, Mitsubishi Heavy Industries, Ltd. is the main contractor, PT. Rekayasa Industri is the sub-contractor, where as Consortium of Adinin Works & Engineering and PT. Bangun Bejana Baja is the manufacturer of 15 units KD Tanks.

Air Tight Test

This picture was the air tight test for checking the roof air sealing. It was done one day before the air raising process to ensure there was no leak in the air seal. A group of people were left inside and the tank pressurize with air by blower. After the roof float a few centimetres and no leakage or folded seal found then the test was finished.

Team gathering early morning

One day after the air tight test, the air raising was started. All crew was come to site in early morning.

Tool box meeting

The tool box meeting to ensure all crew knew their position and when they should do their job.

Air blower & air box access

These were the equipment to raise the roof. There are 4 sets (tandem) of blower which powered by separated generator, and an air box as the access to enter or exit the tank. In the process not all the blower used to pressurize the tank, 1 set was used as a back-up blower.

Balancing wire installation

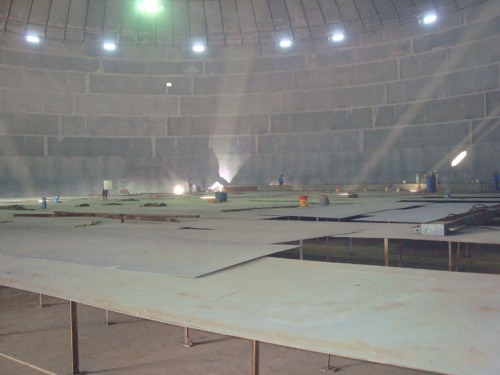
This was the view of inside tank before air raised process. Inside the tank there were lamps to brighten inside, manometer as internal pressure indicator, and balancing wire fully installed.

Double block installation

This is double block for the rail of balancing wire. One wire sling come from above top shell through the roof and continue to the opposite side of roof tank then going down and fixed to the lower shell. There are 8 pair of double block to guide 16 balancing wire.

Double block, balancing wire, plastic seal

The complete set of double block, balancing wire and air seal.

Completed preparation

The complete set of inside tank preparation with continuous air seal around tank.

T-frame balancing wire

On of the equipment outside tank was the T-frame. This part was to guide the balancing wire from inside tank and fixed the end of wire to outside shell. There are 16 T-frame to guide 16 balancing wire.

Balancing wire with load indicator

4 numbers of the balancing wire were equipped with load cell indicator. This equipment was electrically connected to processor (computer) to show the tension of the balancing wire.

Laser level indicator

4 numbers of laser level indicator placed around tank, of course to indicate the position of the roof during floating, and were connected to computer in the control room.

Reflector laser level indicator

This is the reflector of laser level indicator.
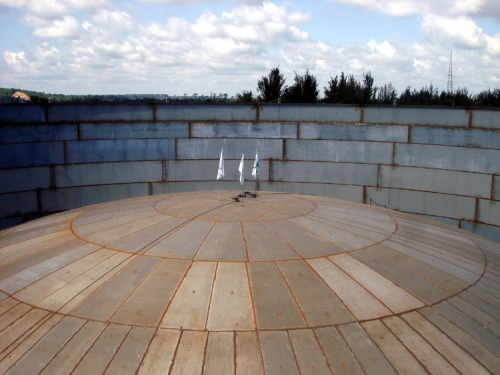
Finish preparation for air raising

After ensure all the preparation were complete, include the flag of the involved party, the air raising can be proceed.
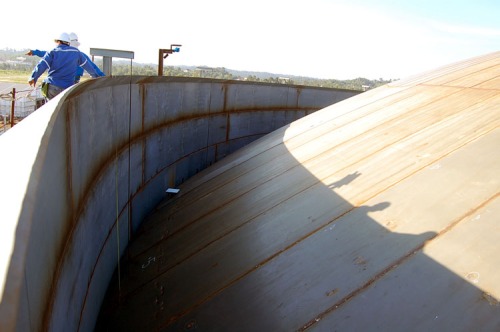
Air raising in progress

This was showing the roof floating more than half way. Approximately more 5 metres before the roof touching the tension bar.

Air raising in progress 2

The roof almost touching the tension bar and all crew already came to their position.

Worker ready to fit-up the roof

The fit-up of roof to tension bar can be started right after the roof touch the tension bar. In this process no welding was allowed before the entire jig were installed. This was to avoid the air seal got burn because of the torch from welding.

Fit-up on progress

Another side of the tank during air raising process. One special platform provided for better view of commander to make instruction.

Fit-up on progress 2

Fit-up process started with jig and horse-only without any welding, right after the roof touched the tension bar.

Fit-up jig and horse shoe

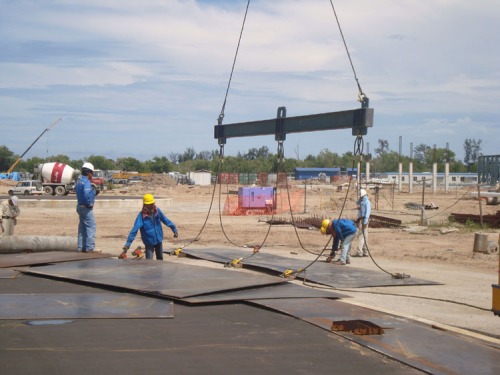
The installed jig and horse shoe. There are 96 set of jig required, each for one roof plate section.

Fit-up roof to tension bar

After completed all jig, fit-up for flattened roof plate to tension bar started. U-bar and bullpen used during this process.

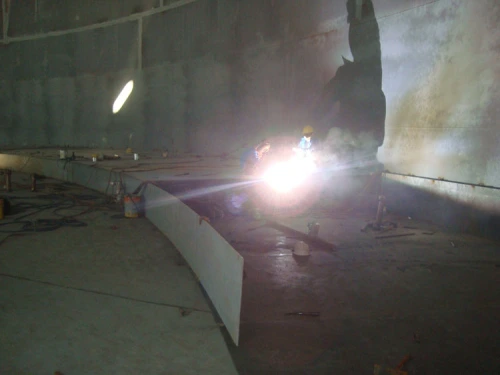
Welding roof to tension bar

After roof fit-up completed, welding roof plate to tension bar can be started. One single pass weld minimum required before the jig can be removed from roof.

Completed air raising dome roof

After completed one pass welding of roof to tension bar, it was save now to leave the tank, and take a lunch break. The lifting itself take time only 2 hours, but the whole process started from 6 o’clock in the morning and finished at 12 o’clock.

Air raising team

This is the team who involved during the air raising process. Posed on the top of dome roof, without me who was taken the picture at that time. 😦 Cheers!!
Read Full Post »

Pictures below are sequential procedure of tank erection in one of my project. This project titled Installation and Erection of Knock Down Tank in Brunei Methanol Project, Negara Brunei Darussalam. Project owner is Brunei Methanol Company Sdn. Bhd., with Mitsubishi Heavy Industries Ltd. as Main Contractor and PT. Rekayasa Industri is the Sub-Contractor. Consortium of PT. Bangun Bejana Baja and Adinin Works and Engineering is the manufacturer of 15 units Knock Down in this project.

One of the biggest tank that built in the project is Product Methanol Tank with type Dome Roof with Internal Floating Roof, shell size 63 metres inside diameter and 18 metres height, dome roof radius is 50.4 metres, and internal floating roof diameter is 62.6 metres. Tank construction was done from September 2008 to October 2009.

Bottom plate installation

Bottom plate consist of annular, rectangular, and sketches plate. The annular plate is the outer plate which on top of it the shell plate will be installed. Butt joint type welding connection used for annular to annular plate, and shall be 50% radiographic test. Rectangular and sketches plate was welded using fillet weld and all joint shall be 100% vacuum box tested.

Bottom plate fit-up

Fit-up of bottom plate usually using temporary welding to plate using nut and u-bar, then bullpen used to make the overlap plate flat to each other.

Bottom plate welding

After plate fit-up finished, the work continue with fillet welding. Welder classification for this welding is welder 1G.

1st shell plate installation

The first installation of shell plate. Rigging using 2 automatic clamps (vertical clamp) with spreader bar.

Shell Nozzle connection

Nozzle connection installation to shell plate. After welding completed, the welding shall be Post Weld Heat Treatment (PWHT).

Finished erection shell course #1 and #2

Finished installation shell course #1 and #2 completed with vertical weld butt-joint.

Horizontal welding shell course #1 and #2 by AGW machine

Horizontal weld between shell course #1 and #2 and so on will be done by Automatic Girth Welding (AGW) Machine.

Roof block ground assembly

Dome roof ground assembly. Install the rafter and continue with roof plate welding. There are 24 block of roof will be assembly, 12 of them will be ground assembly and block in between section will install inside tank.

Door sheet

Some part of shell plate #1 and #2 was removed as entry access for crane and material, it is call door sheet.

Centre column support installation

Centre column support installation. This part will support the centre rafter of the dome roof which is the part that all roof block will be connected into.

Centre rafter on top of centre support

Finish assembly of centre support and installation centre rafter on the top.

1st roof block installation

First installation of dome roof block. Roof block lifted by 300 Ton Crane.

Adjust lower part to outer support

Adjusted lower part of the roof block into the outer support.

Adjust upper part to centre rafter

Adjusted upper part of the roof block into the centre rafter.

4 roof block installation

Finished installation of the first 4 numbers of roof block (beautiful, isn’t it). It is important to keep the balance between installations section by section.

Overtime work to catch-up schedule

Overtime work for catch-up schedule, but only welding work without any rigging or fit-up.

In between roof block assembly

In between roof block assembly. Manlift basket used to install and weld rafter. Rafters erected by crane from outside tank.

Roof plate installation in between block

Roof plate installation in between roof block. The first 3 section roof plate were install from inside tank before finished rafter in between block. The 4th and 5th roof plate installed from outside tank.

#8 course (last) with tension bar installation

Last shell course (#8) installation with tension bar. Last shell course and tension bars were assembled on workshop to decrease welding work on height.

Roof plate in door sheet area

Installation of roof plate in between block was remaining in the door sheet area. This part welded the last due to entry access for crane only available through door sheet.

Completed dome roof assembly, inside view

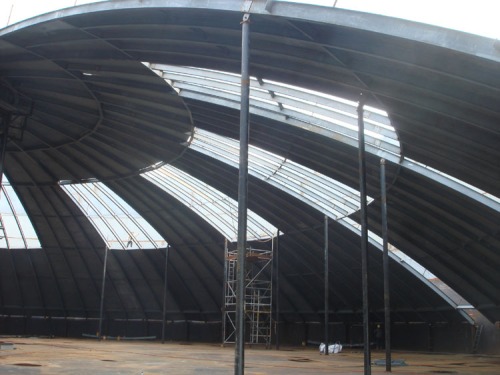
Finished dome roof assembly viewed from inside tank. Dome roof now ready to be lifted up to the tension bar by air raising method. The roof will float due to air pressure inside tank increased by blower through shell nozzle.

Dome roof fixed to the tension bar

This picture showing the completion of air raising process of dome roof, and dome roof completely fixed to the tension bar.

Single deck internal floating roof assembly

Single deck internal floating roof assembly on process. This floating roof consists of general part and pontoon compartment. Floating roof supported by permanent pipe support with height approximately 2 metres. During construction the floating roof temporary supported then will be raised up by water to the correct elevation.

Pontoon compartment assembly

Pontoon compartments work as the buoy of the floating roof. These compartments shall be fully tested by oil leak test to ensure 100% leak proof.

Completed assembly internal floating roof

Floating roof assembly finished and ready to be raised up. Next preparation will be closing all the shell manhole and nozzles and fill up the tank with water.

Internal floating roof lifted by water raising method

Water raising finished and the floating roof already setup on the permanent pipe support, locked with stud bolt.

Tank accessories finished assembly

Accessories of tank such as roof periphery platform, spiral and roof stairway, piping for fire fighting, etc. continue assembled prior to hydrostatic test.

Water discharge after hydrostatic test

Hydrostatic test was to fill the tank with water to the design pressure to ensure there is no leaking in the tank as well as to check the stability of the tank foundation. After all inspection finished, the water inside tank discharged.

Touch-up primer coat

Touch-up primer coat for welding area to be finished prior to applying final coat.

Product Methanol Tank, Brunei Methanol Project

The tank installation finished. Awesome, isn’t it?

Well, that’s it! I hope all of the reader enjoyed to read it 😀

Read Full Post »